
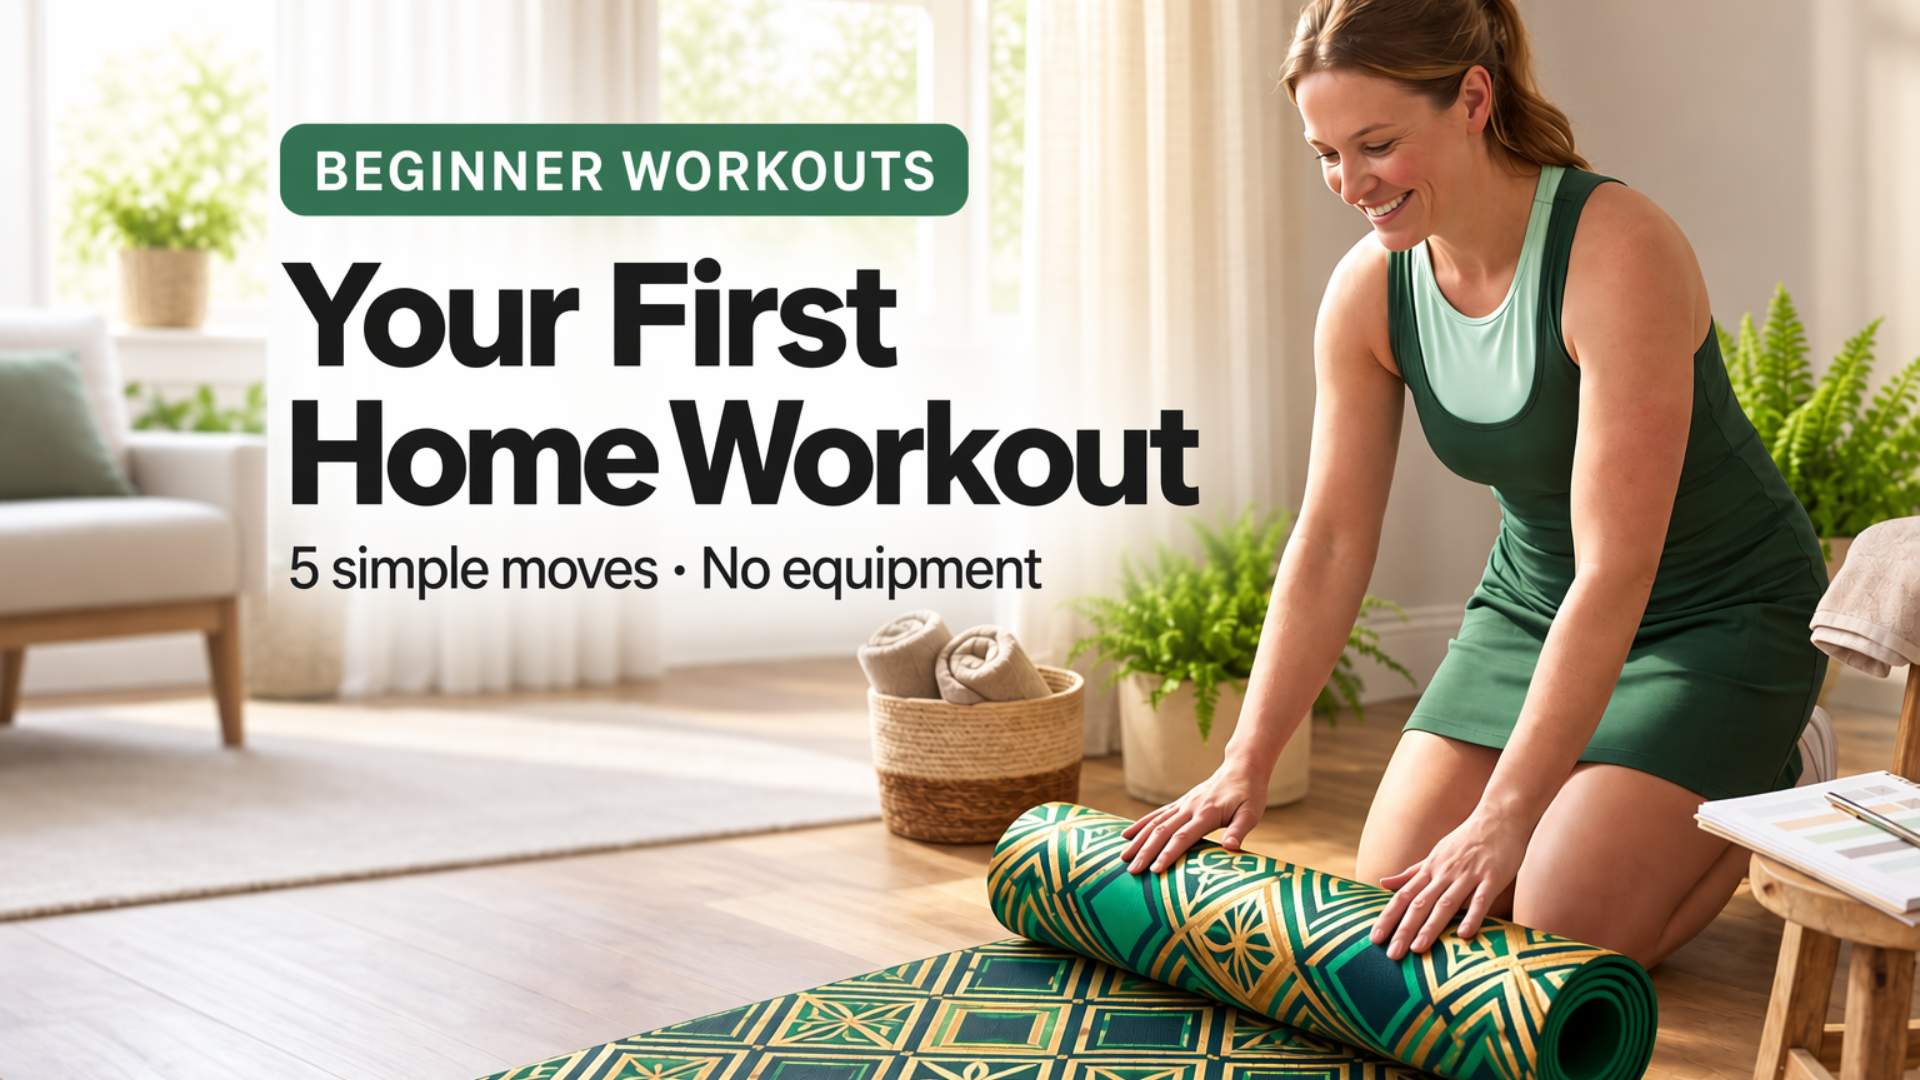
If Home Workouts Feel Intimidating, You Are Not Behind
If you have ever searched for a beginner full-body workout at home, opened a video, and immediately felt out of place, that reaction is common. A lot of “beginner” content is filmed by people who are already well trained, in large rooms, using moves that are hard on the knees, wrists, or confidence.
This guide is written for a different starting point: a normal living room, no equipment, no jumping, and a routine you can repeat without dreading the next session.
This beginner full-body workout at home uses basic bodyweight movements. It is quiet, low-impact, and intended to be joint-friendly for many beginners, although everybody is different. It usually takes about 20 minutes if you complete 2 rounds.
Why No-Equipment Workouts Actually Work
Your muscles do not know the difference between a $3,000 weight machine and the weight of your own body pushing against gravity. When you do a push-up or a squat, your muscles contract against resistance.
Starting with a bodyweight routine offers three major benefits:
- Joint Safety: You master movement patterns before adding external heavy weights, which helps you learn basic movement patterns before adding more resistance.
- Zero Friction: You don’t have to pack a bag, drive through traffic, or wait for someone to finish using a machine. You just roll out of bed or off the couch.
- Boosts Daily Energy (NEAT): Physical movement triggers blood flow and endorphins, adds useful movement to your day and may improve strength, mobility, and energy.
Before You Start
This routine is for people who are new to strength training, working out in a small space, or returning after a long break. You do not need a gym, weights, or jumping.
You will need a little floor space, a wall or sturdy counter for incline push-ups, and a stable chair or sofa for sit-to-stands. Avoid chairs with wheels, glass tables, or anything that can slide.
Stop if something does not feel right
- Muscle effort and mild tiredness are normal.
- Sharp joint pain, chest pain, dizziness, or unusual shortness of breath are not. Stop and get medical advice if those happen.
- If you have an existing injury, recent surgery, heart or joint condition, or you are pregnant, talk with a clinician before starting.
2–3 minute warm-up
Do this first. It is part of the workout, not optional extra work.
- March gently in place for 60 seconds.
- Roll your shoulders 8 times backward and 8 times forward.
- Push your hips backward 8 times, as if you are closing a car door behind you. Keep your back long and your knees slightly bent.
- Sit down and stand up from a sturdy chair 8 times at an easy pace.
- Do 8 slow wall push-ups.
You should feel a little warmer, not exhausted. If the warm-up already feels hard, stay with these easier versions for the main workout as well.
The 20-Minute Beginner Full-Body At-Home Routine
Perform this circuit 3 days per week (e.g., Monday, Wednesday, Friday) with at least one rest day in between sessions..
Complete Exercise 1, rest for 45–60 seconds, then move to Exercise 2. Once you finish all 5 exercises, rest for 2 minutes. Repeat the whole circuit 2 to 3 times total.
| Exercise | Target Muscle Group | Reps / Time | Rest |
|---|---|---|---|
| 1. Box / Chair Squats | Quads, Glutes, Core | 10–12 reps | 45 sec |
| 2. Incline Push-Ups (Wall or Countertop) | Chest, Shoulders, Triceps | 8–10 reps | 45 sec |
| 3. Glute Bridges | Glutes, Hamstrings, Core | 10–15 reps | 45 sec |
| 4. Reverse Step-Backs | Legs, Balance, Hips | 8 reps per leg | 45 sec |
| 5. Bird-Dog | Core, Spine Stability | 6–8 slow reps per side | 60 sec |
Step-by-Step Exercise Breakdown
1. Box / Chair Squats
Lower BodyHow to do it: Stand in front of your sofa or a sturdy chair with feet shoulder-width apart. Sit back slowly until your butt gently touches the cushion. Pause for a second, then press through your heels to stand up tall.
Beginner Tip: Do not collapse onto the chair. Keep your chest up and control the movement on the way down.
2. Incline Push-Ups (Wall or Countertop)
Upper BodyHow to do it: Place your hands shoulder-width apart against a kitchen counter, sturdy desk, or wall. Step your feet back so your body forms a straight line. Lower your chest toward the surface, then push back up smoothly.
Beginner Tip: The higher the surface (like a wall), the easier it is. As you get stronger, lower the surface to a couch edge or coffee table.
3. Floor Glute Bridges
Posterior ChainHow to do it: Lie on your back with knees bent and feet flat on the floor, about hip-width apart. Squeeze your glutes and push your hips up toward the ceiling until your body forms a straight line from knees to shoulders. Hold for 1 second at the top, then lower down slowly.
4. Reverse Step-Backs
Legs & BalanceHow to do it: Stand tall. Take a gentle step backward with your right leg, bend both knees slightly into a shallow lunge, then push off the back foot to return to standing. Alternate legs.
Beginner Tip: Feel free to hold onto a wall or chair for balance.
5. Bird-Dog
Core & Back
How to do it: Get on your hands and knees on the floor. Reach your right arm straight forward while extending your left leg straight back behind you. Hold for 2 seconds, return to the start position, and switch sides.
or
Start with 2 rounds during your first 1–2 weeks. With the warm-up, this should usually fit within about 15–20 minutes. A third round is optional and may take longer than 20 minutes.
How to Make Each Exercise Easier or Harder
Use the easier version until your form feels steady. Move to the harder version only when you can complete every repetition without rushing or losing control.
| Exercise | Easier Version | When You Are Ready |
|---|---|---|
| Chair Squats | Use a higher seat. Sit down fully, then stand. | Pause for 2 seconds just above the chair before standing. Later, use a lower seat. |
| Incline Push-Ups | Use a wall. Keep your body in one line. | Move to a counter, then a sturdy sofa arm or low table. |
| Glute Bridges | Lift your hips a shorter distance. | Pause for 2–3 seconds at the top. Later, slow the lowering phase to 3 seconds. |
| Reverse Step-Backs | Hold a wall or chair. Tap the back foot instead of lowering deeply. | Use a slightly longer step. Keep both knees tracking in line with your feet. |
| Bird-Dog | Move only the arm or only the leg. | Move the opposite arm and leg together. Hold for 2 seconds. Alternative: a 15–20 second knee plank. |
How to Progress Over 4 Weeks
Start easier than you think you need. The goal for week 1 is to finish feeling like you could do a little more, not like you need 10 days of recovery.
| Week | What to do | Rest |
|---|---|---|
| Week 1 | 2 rounds. Use the lower end of the rep range. Use the easier versions if needed. | 45–60 seconds between exercises, 2 minutes between rounds |
| Week 2 | 2 rounds. Add 1–2 reps if the last 2 reps still look controlled. | Same rest, or drop to 40 seconds if you recover well |
| Week 3 | 2–3 rounds. Keep the same exercises. Slow the lowering phase. | Keep 2 minutes between rounds |
| Week 4 | 3 rounds if recovery is good. Only then consider a lower push-up surface or light bands. | Do not add extra rounds and extra difficulty on the same day |
Change one thing at a time: either more reps, a slower tempo, a slightly harder version, or an extra round. Do not change all of them together.
Simple Cool-Down
After the last round, walk slowly around the room for 2–5 minutes and let your breathing settle. Then use these optional stretches. Stay in a comfortable range. Do not bounce or force a stretch.
- Chest opener: Stand in a doorway, place your forearms on the frame, and step through gently for 20–30 seconds.
- Hip flexor stretch: Kneel on a cushioned surface, one foot forward, and shift slightly forward for 20–30 seconds each side.
- Hamstring stretch: Sit on a chair, extend one heel forward, and hinge from your hips for 20–30 seconds each side.
- Shoulder reset: Interlace your fingers, reach forward, and round your upper back lightly for 20 seconds.
A Simple Beginner Schedule
Three full-body sessions a week is enough to start. Leave at least one day between them.
| Day | Plan |
|---|---|
| Monday | This full-body workout |
| Tuesday | Easy walk, 10–30 minutes, or rest |
| Wednesday | This full-body workout |
| Thursday | Rest or light mobility |
| Friday | This full-body workout |
| Saturday | Walk or rest |
| Sunday | Rest |
If you miss a day, skip it and continue. Do not “make up” missed workouts by doubling the next session.
Simple Upgrades for Home Comfort
While you don’t need any equipment to start, doing workouts directly on hard tile or thin carpet can eventually hurt your back or wrists. A few small, budget-friendly items can make your workout experience significantly more comfortable:
Extra Thick Non-Slip Exercise Mat
Adds cushioning for your knees and floor exercises during planks and glute bridges — and stops you sliding on hardwood or tile floors.
$15 – $25Fabric Loop Resistance Bands (Set of 3)
The cheapest way to make squats and glute bridges harder again once bodyweight starts feeling too easy.
$10 – $40Insulated Stainless Steel Water Bottle
Keeps water ice-cold through your whole session — and keeping it beside your mat quietly builds the workout habit.
$12 – $30How to Match Your Workout with Your Diet
Working out builds strength and boosts mood, but if your goal includes body transformation or fat loss, exercise is only half the equation.
To get the best results from this beginner full-body workout at home, you need to align your daily food intake with your energy output:
- Calculate Your Maintenance Calories: Visit our TDEE Calculator to find out how many calories your body burns in a day.
- For a complete explanation of maintenance calories and calorie deficits, read our TDEE calculator guide and find other tools as well in our Tool Page.
- Stay Hydrated: Hydration needs vary based on body size, climate, activity, and medical conditions. Drink regularly and follow medical advice if applicable.
Frequently Asked Questions ❓
How often should I do this beginner full body workout at home?
Most beginners can start with three sessions per week, leaving at least one recovery day between workouts. If you are very sore or your form begins to break down, take an additional rest day.
Can you really build muscle with no equipment at home?
Yes! Bodyweight exercises create mechanical tension on your muscles. As long as you push close to fatigue and gradually increase your reps or slow down your tempo, your body will adapt and build muscle strength.
What if an exercise causes knee or wrist pain?
Never push through sharp joint pain. If squats hurt your knees, shorten your depth or stick to higher chair squats. If push-ups hurt your wrists, do them against a wall instead of the floor.
Should I do cardio before or after this workout?
It is best to do strength circuits first when your energy is fresh. You can do light walking after your workout or save cardio for your non-strength rest days.
How This Article Was Created
This guide was written for beginners who want a realistic home starting point, not an advanced gym program. The exercises are common bodyweight movements used to train the legs, hips, pushing muscles, and core with a low equipment barrier.
It is based on publicly available adult physical activity guidance and standard coaching progressions: learn the movement, use a range you can control, add difficulty slowly, and leave recovery days between sessions. It is not a personalized training plan, physical-therapy protocol, or medical advice.
If a qualified coach or clinician later reviews this page, we will name that person and the review date here. Until then, treat this as general educational content.
Sources and Further Reading
These sources do not replace medical advice. They are useful background on why beginners are encouraged to combine regular movement with muscle-strengthening work.
- CDC, Physical Activity for Adults — adult activity guidance, including muscle-strengthening on 2 or more days per week.
- World Health Organization, Physical Activity fact sheet — global recommendations for weekly aerobic activity and muscle strengthening.
- NHS, Strength exercises — beginner-friendly examples of bodyweight strength movements.
- NHS, Physical activity guidelines for adults — how strength work fits into a weekly activity plan.
This 20-minute routine can help you start the muscle-strengthening part of those guidelines. Easy walking on rest days can help you build toward overall weekly movement. It does not automatically meet every activity target by itself.


💬 Join the Discussion (1)